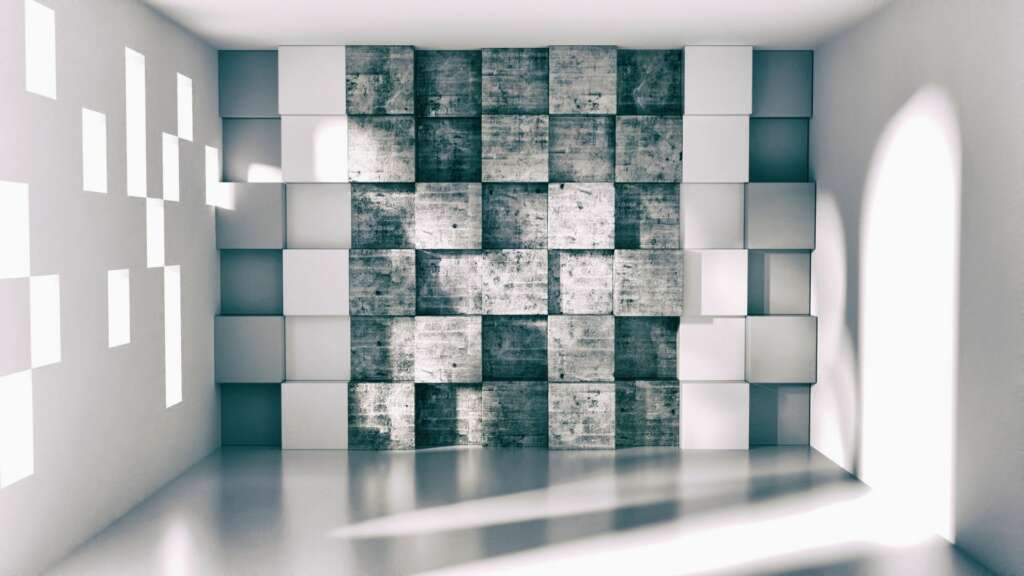
Big Brother winner and TV’s favourite DIY expert, Craig Phillips shows us how to add simple yet statement features to our homes with wall panelling, and for just a fraction of the cost, too.
Throughout 2020, many homeowners made use of their time at home during the numerous national lockdowns to make some home improvements.
Lockdown provided people with time that they don’t often have, allowing them to turn their attentions to tasks that have been sat on their ‘to-do’ list for quite some time.
And DIY wall panelling is just one of the trends that took over both people’s homes and social media feeds during last year, as ‘wall panelling diy’ saw a search increase of over 250% according to data from Google Trends.
Not only that, but many have taken this opportunity to update their current kitchens, freshening up their cupboards with a lick of paint. Google Trends also shows phrases such as ‘kitchen cupboard paint’ have experienced a 170% increase over the course of the last year.
With the number of social media influencers also documenting their home improvements and showcasing their impressive DIY skills, it’s a trend that doesn’t seem to be going anywhere any time soon.
Sharing his knowledge and expertise, here’s Craig Phillips’ step-by-step guide for DIY wall panelling and his top tips for upcycling your kitchen.
DIY wall panelling
Wall panelling can come in a few different forms, so it’s important to do your research and choose the style you think will best suit your home.
Materials;
- MDF (cut to size)
- No More Nails
- Sander
- Spirit level
- Paint
- Hammer
- Pins
- Tape measure
- Pencil
Step one;
First things first – draw up your design. This is a great way of staying on track and ensuring that you stick to a plan, including knowing just how many panels you’ll need.
Step two;
Once you’ve chosen the style of wall panelling you’d like to achieve, you need to decide how thin, or thick you would like your panels to be.
Measure your wall. And then measure it again, just to be sure! It’s crucial that your measurements are correct and that your panel sizes are even and fit the space perfectly.
Measure both the width and the height of the wall and make a note of the measurements. Then, work out the distance you would like to have between each panel – this will help determine how many panels you’ll need.
All of these measurements will be essential for creating a cutting list.
Step three;
You need to create a list of exactly what sizes you need everything to be before cutting your MDF.
The size of your panels completely depends on the style you have opted for and will vary from wall to wall.
It is essential to get your measuring as accurate as possible and remember to account for top and base panels (the frame) as well as vertical and horizontal panels.
It’s also worth making sure that there are no problems with your walls to ensure a smooth finish and to prevent any obstructions. Sanding your wall will help with this and will also help the glue to stick better, too.
Once you’re happy with all the measurements, it’s time to start cutting!
Step four;
Time to add the panels!
Start by adding the frame. First with the base panels, followed by the top.
Simply stick the base panels to the wall using No More Nails glue – be sure to press down firmly and then leave to dry.
Finish the border by adding the first side panels, using a spirit level to make sure they are completely straight.
Step five;
Now, fill in the gaps with the vertical panels, followed by adding your horizontal panels in between – again, using No More Nails glue.
Step six;
Before painting, ensure that the panels are completely dry and have set. And then all that’s left to do is paint!
With such an increase in the number of searches and DIY projects, Craig explains how panelling can transform a room.
He explains, “The extra time we’ve all had at home has allowed us to be creative and get our own hands dirty when we would usually call in the professionals. And wall panelling is something that everybody can get involved with.
“It truly transforms a room and is completely different to a typical feature wall. Panelling adds warmth, depth and character to any space no matter the size.”
Here are some of Craig’s top tips for nailing the perfect panelling project.
Top tips;
- Don’t panic if some of your panels are a couple of millimetres short, simply fill them with Polyfilla before sanding to create smooth, seamless joins.
- For extra security or for any areas that may struggle to stick, tack a pin into your panels to keep them sturdy.
- Always keep your spirit level to hand! It may take a little longer, but it will be worth checking each panel as you go for a perfectly symmetrical finish.
Upcycle your kitchen
Frenchic Top Tips adn Video – How to upcycle kitchen cupboards
Another trend that has taken the DIY world by storm may seem rather simple, but needs to be done correctly to ensure a long-lasting finish.
Painting your kitchen cupboards is much more just a lick of paint. It takes preparation, time and patience – but the end result will be more than worth it.
This video covers everything from effectively cleaning and prepping the surface, the best paint to use, the right methods to apply and how to get extra protection from marks and scratches.
Materials;
- Frenchic Concentrated Sugar Soap
- Frenchic paint
- Frenchic Finishing Coat
- Scourer
- Dry cloth
- Sandpaper
- Paint brush or handheld paint sprayer
Once you have everything to hand, your kitchen will be ready for the ultimate makeover!
